Retro Refurbishing
Bringing New Life to Old Treasures: Retro Refurbishing
Do you have a passion for all things vintage? Are you a fan of retro aesthetics and mid-century design? If so, you'll love the art of retro refurbishing! Transforming old, worn-out items into stylish and functional pieces is not only a creative endeavor but also a sustainable way to decorate your space.
What is Retro Refurbishing?
Retro refurbishing is the process of revitalizing and updating vintage or retro items to give them a new lease on life. Whether it's a classic record player, a mid-century dresser, or a vintage rotary phone, refurbishing these treasures involves cleaning, repairing, and sometimes even repurposing them to fit modern aesthetics while preserving their nostalgic charm.
Why Choose Retro Refurbishing?
There are several reasons why retro refurbishing is gaining popularity among vintage enthusiasts:
- Unique Style: Refurbished retro pieces add a unique touch to your decor that you won't find in modern mass-produced items.
- Sustainability: By refurbishing old items, you are reducing waste and giving new life to objects that might otherwise end up in a landfill.
- Cost-Effective: Refurbishing old items is often more budget-friendly than buying brand-new furniture or decor.
- Creative Outlet: Retro refurbishing allows you to unleash your creativity and experiment with different techniques to transform old items.
How to Get Started with Retro Refurbishing
If you're ready to dive into the world of retro refurbishing, here are some tips to help you get started:
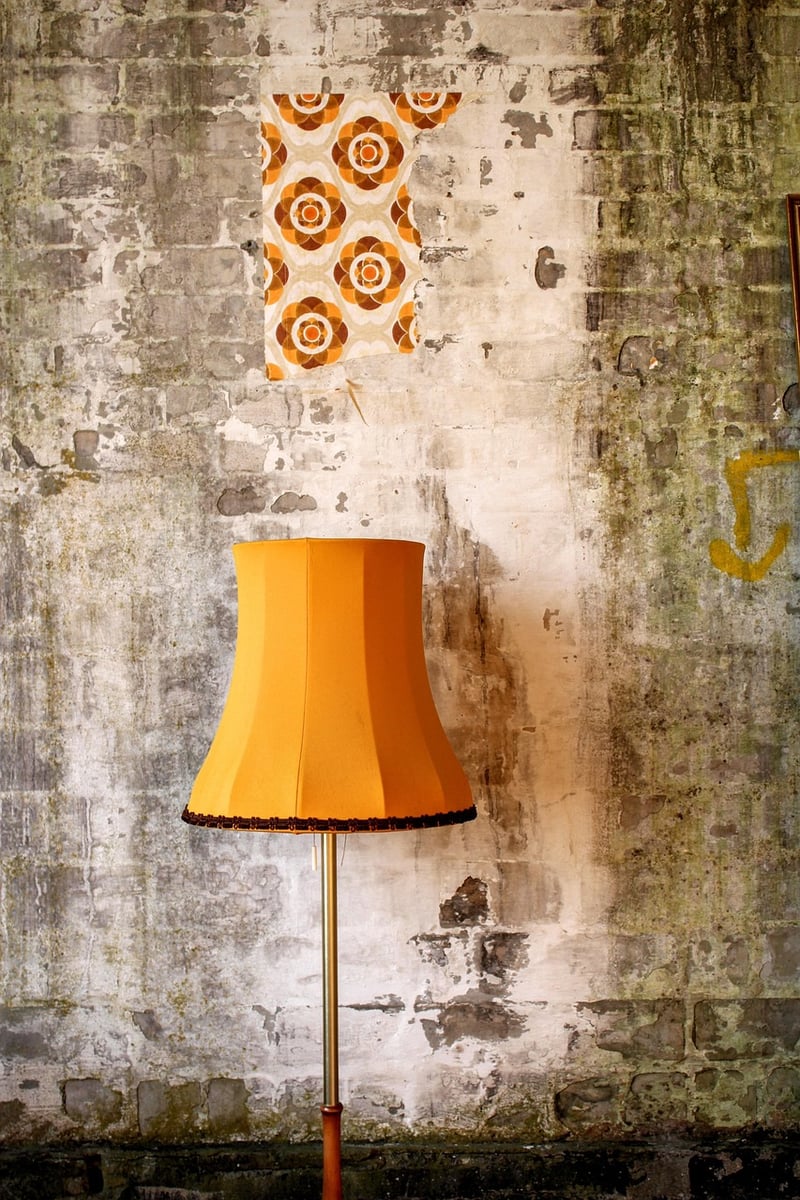
- Choose Your Project: Start by selecting an item that you want to refurbish, such as a vintage lamp, a retro chair, or a mid-century sideboard.
- Research and Plan: Look up tutorials, gather the necessary tools and materials, and create a plan for how you want to refurbish the item.
- Clean and Repair: Begin by cleaning the item thoroughly and addressing any repairs needed, such as fixing loose joints or replacing worn-out parts.
- Refurbish and Refinish: Apply new paint, stain, or finishes to transform the item and make it shine like new.
- Add Personal Touches: Consider adding unique details or accents to make the refurbished item truly your own.
Get Inspired!
Need some inspiration for your retro refurbishing projects? Check out these amazing before-and-after transformations:

Ready to breathe new life into old treasures? Start your retro refurbishing journey today and discover the joy of transforming vintage items into stylish statement pieces!
Happy refurbishing!
